
Tool Bench · FIELD NOTE 20
Bookbinding Needles: Size, Point, and Thread Path
Why does needle choice matter in hand sewing?
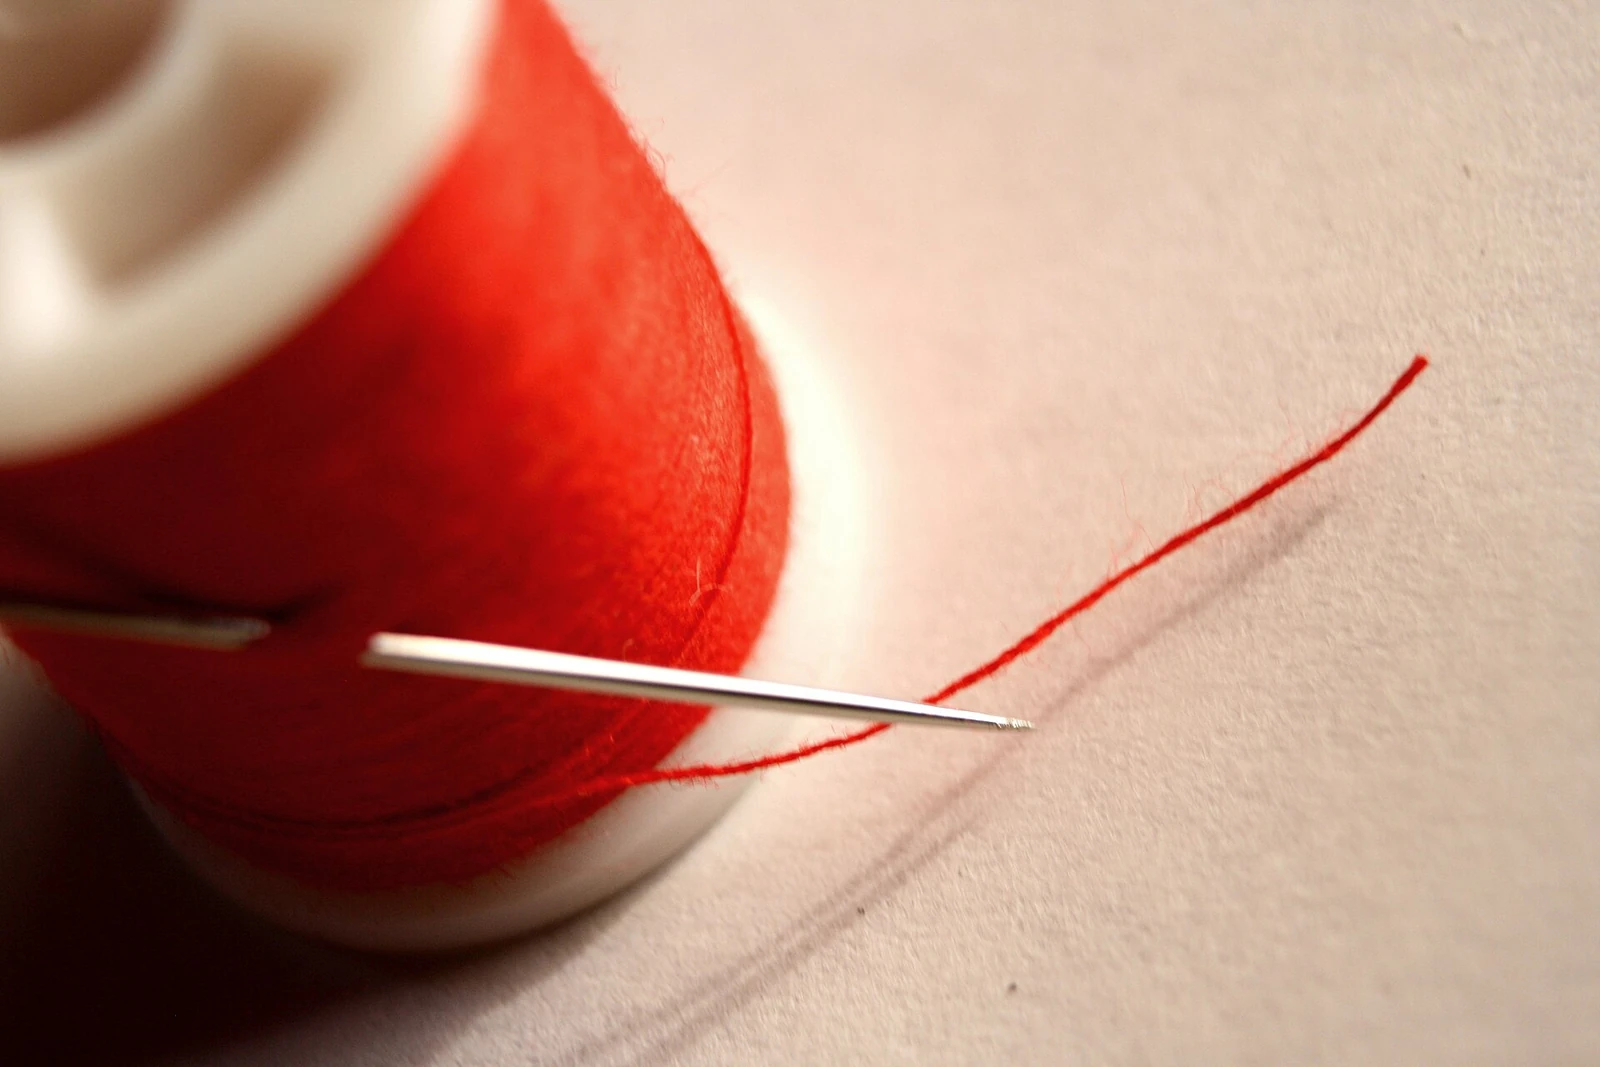
A bookbinding needle carries thread through a route that the paper must survive. Its suitability depends on the thread, the station, the paper, and the stitch, rather than on a size number alone. A needle that feels convenient in the hand can still force an opening, abrade thread at the eye, or catch an earlier stitch. Start selection with the proposed connection. The goal is a controlled passage that leaves the surrounding fold and the thread in useful condition.
The eye can be the widest problem
Roberts and Etherington describe hand-binding needles as instruments carrying thread through paper or cloth, with an eye that should permit passage without cutting the thread. That detail matters because the shaft may pass through a station while the threaded eye still catches. Evaluate the combination, not the bare needle. A hole that admits metal is not automatically large enough for the thickest part of the assembled needle-and-thread system. [1]
On expendable project stock, prepare a representative station and pass the intended threaded needle through it without forcing. Observe whether the thread catches, the paper opens irregularly, or the eye drags. This is a practical selection exercise, not a test result reported by this publication. Keep the sample so that another proposed needle can be compared in the same conditions instead of relying on a remembered impression from a different paper.
Match the point to the job
Point shape influences what the needle encounters next. A sharp point may make a new puncture when a route already exists; another shape may be suitable to a particular technique but still be wrong for the available opening. Do not treat blunt or sharp as a universal safety label. Follow a complete method appropriate to the binding and assess how the point behaves in the actual practice material before it approaches important content.
Watch the route on a model from both sides. If the needle emerges away from the intended fold, reconsider the alignment rather than pulling the thread through the new puncture. A small unintended passage can become difficult to distinguish after sewing and complicate later interpretation. The lesson is useful for making, but it should not be transferred into exploratory needle work on an old binding whose original path has not been established.
Thread changes the selection
Thread thickness contributes to the amount of material occupying a spine. The binding dictionary explains that selection depends on paper characteristics and section count, and that excessive thread can create excessive swell. A larger needle is therefore not a complete answer to a thick thread choice. The thread may still be unsuitable for the proposed book even when it can be drawn through all the stations. [2]
Consider two hypothetical projects: a short pamphlet of flexible sheets and a multi-section notebook of thicker stock. Their sewing may ask different things of the needle and thread. Copying the same pairing because it worked once ignores the altered fold thickness and number of passes. Keep a project note that identifies paper, thread, needle, and route together. It records a working combination rather than promoting a favourite tool into a universal recommendation.
Resistance is information
A snag can arise from the eye, the hole, thread twist, the route, or a tool defect. Stop and isolate the cause on the dummy instead of increasing force. Never pull a stuck needle toward a supporting hand or use teeth to grip it. Arrange the work so hands stay clear of the point and follow appropriate tool instructions. Physical control belongs in the selection process as much as the neatness of the finished stitch.
Repeated passes deserve attention as well. A station that works for the first pass can become crowded when thread returns through it. Trace the full sewing sequence before deciding that a sample is successful. If the route crosses an earlier thread, observe whether the point is liable to split it. A model with a visible, deliberately simplified sequence can teach this relationship without pretending to reproduce all historical sewing systems.
A needle is not a diagnostic probe
In an existing book, an empty hole or loose stitch can tempt someone to insert a needle and discover where it leads. That action can enlarge a hole, catch surviving thread, or create a false route. Photograph what is already visible and distinguish observed passages from conjectured ones. A conservator's examination may justify further investigation, but possession of a suitable tool does not establish the need to use it.
Likewise, tightening a loose thread can shift stress to a weakened fold. The visible loop is only one part of a larger structure. A page may be supported elsewhere or attached through an earlier repair that is not obvious at the surface. Document the particular location and whether ordinary access is limited. That gives an examiner a useful problem to assess without converting a small uncertainty into fresh damage.
Choose a needle by the complete passage it must make: eye plus thread, point plus route, and repeated passes plus remaining paper. Test those relationships on expendable stock and keep the combination identifiable in the project record. For collection objects, let that knowledge improve the description rather than encourage probing. A good needle choice makes a planned stitch easier to control; it cannot rescue an unsuitable thread, damaged fold, or misunderstood binding.
Sources
References below support the factual explanations in this article. Read each source within its stated scope and context.