
Tool Bench · FIELD NOTE 25
Cutting and Folding: Why a Clean Edge Begins Before the Knife
How can I make more accurate folds and cuts?
A clean edge begins with a reliable reference, not with the final stroke of a knife. In a new paper book, a small early alignment error can travel through folding, nesting, and trimming until the pages no longer sit as intended. The practical remedy is a sequence that checks the layout before each irreversible step. Establish what the finished object must do, identify grain, make a dummy, and cut only after the relationships are clear enough to repeat.
Start with the finished reading object
Write down the closed page size, the direction of opening, and whether the book contains one gathering or several. Include any insert that changes thickness or projects beyond the ordinary page. These decisions determine the useful dimensions more accurately than measuring a decorative cover first. A sheet layout is not complete merely because the rectangles fit. The pages must also fold, turn, and retain the margins needed for sewing or another attachment.
Draw the layout on disposable paper and mark a single reference edge. Use it consistently rather than measuring each new line from the preceding cut. A small cumulative error becomes harder to identify if every dimension inherits the previous one. Keep the diagram legible enough that someone else could tell which dimensions are finished sizes and which include allowances. This is production planning, not a claim of a universally correct margin or trimming sequence.
Grain can change the sensible layout
Dartmouth's repair manual explains directional behavior in paper and board and recommends matching grain in materials joined together. For a new folded book, identify the intended spine direction on the drawing before deciding how many pieces to obtain from the parent sheet. The layout that produces the most pieces may not produce the most suitable folds. Compare alternatives while the cost is still a planning choice rather than a stack of cut stock. [1]
Use expendable samples for any gentle grain comparison and retain supplier information when available. Do not crease or tear an important original to settle orientation. In a new project, mark the remaining stock after each major cut so its direction is not lost when pieces are rotated. A long rectangular offcut can be particularly misleading if its current long edge is mistaken for proof that the fibres run that way.
Prove the sequence with a dummy
Fold a representative dummy and number its pages after folding. Open it out again to inspect the relationship between page order and position on the flat sheet. This catches a different class of error from inaccurate cutting: the dimensions may be correct while the content lands upside down or in the wrong order. For printed work, test the actual imposition before using the final stock. An attractive finished cover cannot correct a misordered text.
Now assemble the intended gathering thickness and see how its edges align. Inner leaves can project differently from outer ones after nesting. Decide any trimming with that assembled relationship in mind and according to the selected binding method. Do not assume a flat-sheet measurement describes the final fold. If text or illustrations approach an edge, retain a generous proof stage rather than discovering the available margin only after the final cut.
A controlled cut needs a controlled workspace
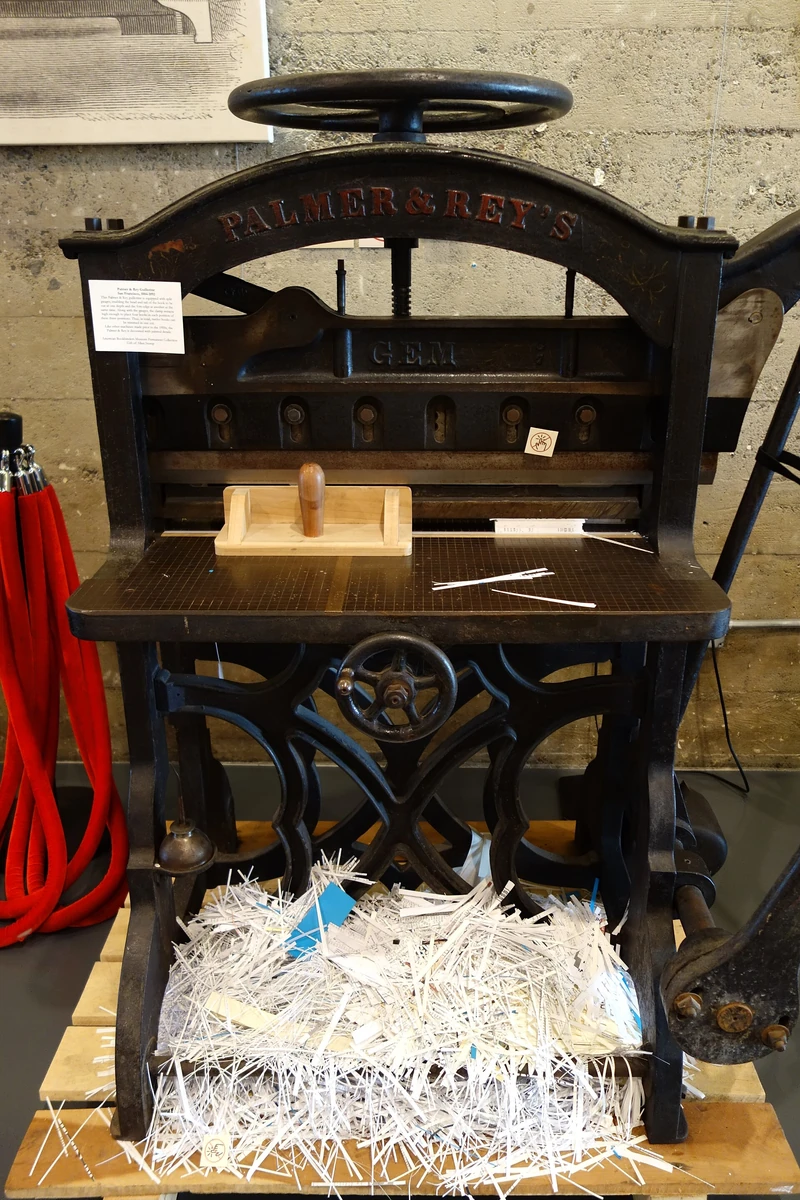
Cornell's preservation tutorial places cutting tools within an equipped, trained workflow and stresses appropriate tools and supervision for remedial work. That context matters. A hand knife, board shear, and powered cutter have different hazards and operating requirements. Use training and manufacturer instructions suited to the actual equipment. A short bookmaking article cannot authorize unfamiliar machinery or replace its guards, clamping procedure, and safe working arrangements. [2]
For manual work, stabilize the material on an appropriate cutting surface and keep the holding hand out of the blade path. If the work slips, the edge tears, or the tool demands force beyond controlled handling, stop. Reassess the blade, support, material thickness, and method. Do not try to recover accuracy through a faster or harder stroke. The quality of the setup is part of the result, not a preliminary inconvenience to be rushed.
Folding should confirm the layout
Align the intended edges before sharpening the fold with a clean suitable tool. Check that the sheet has not shifted and that any coating or printed surface tolerates the action on the sample. A crisp crease is useful only if it is in the right place. Repeated rubbing along a misplaced line makes the mistake more permanent. If the project requires a score, use a method appropriate to that stock rather than improvising a deep groove.
Keep cutting and folding observations separate in the sample record. A ragged edge can arise before a fold, while a cracked surface can appear during folding even when the cut was clean. Naming the stage helps correct the actual cause. Changing every tool and dimension together may produce an acceptable next sample but leaves the maker unable to explain why it improved or reproduce that improvement reliably across several copies.
The final check is the assembled dummy in use: pages in order, workable margins, comfortable opening, and dimensions that suit the binding. Only then should the repeatable sequence become the production plan. Accurate cutting is one part of that sequence, not its starting assumption. By treating grain, order, allowances, and tool control as connected decisions, a maker can reduce waste and make a clean edge serve the book rather than merely its outline.
Sources
References below support the factual explanations in this article. Read each source within its stated scope and context.